How to optimise my plot?

When planting a new orchard, you naturally want to do this in the best possible way. You want as much trees as possible. But it should remain neat and structured. It should also be possible to install a hail net system or foil cover in the future.
In this blog, I want to take you through the layout of an orchard. I will do this using a step-by-step plan, from determining the plot to pressing the poles, installing the anchors and planting the trees.
I will go through the following steps in this blog:
- Planning the plot
- Designing the orchard
- Planting the orchard
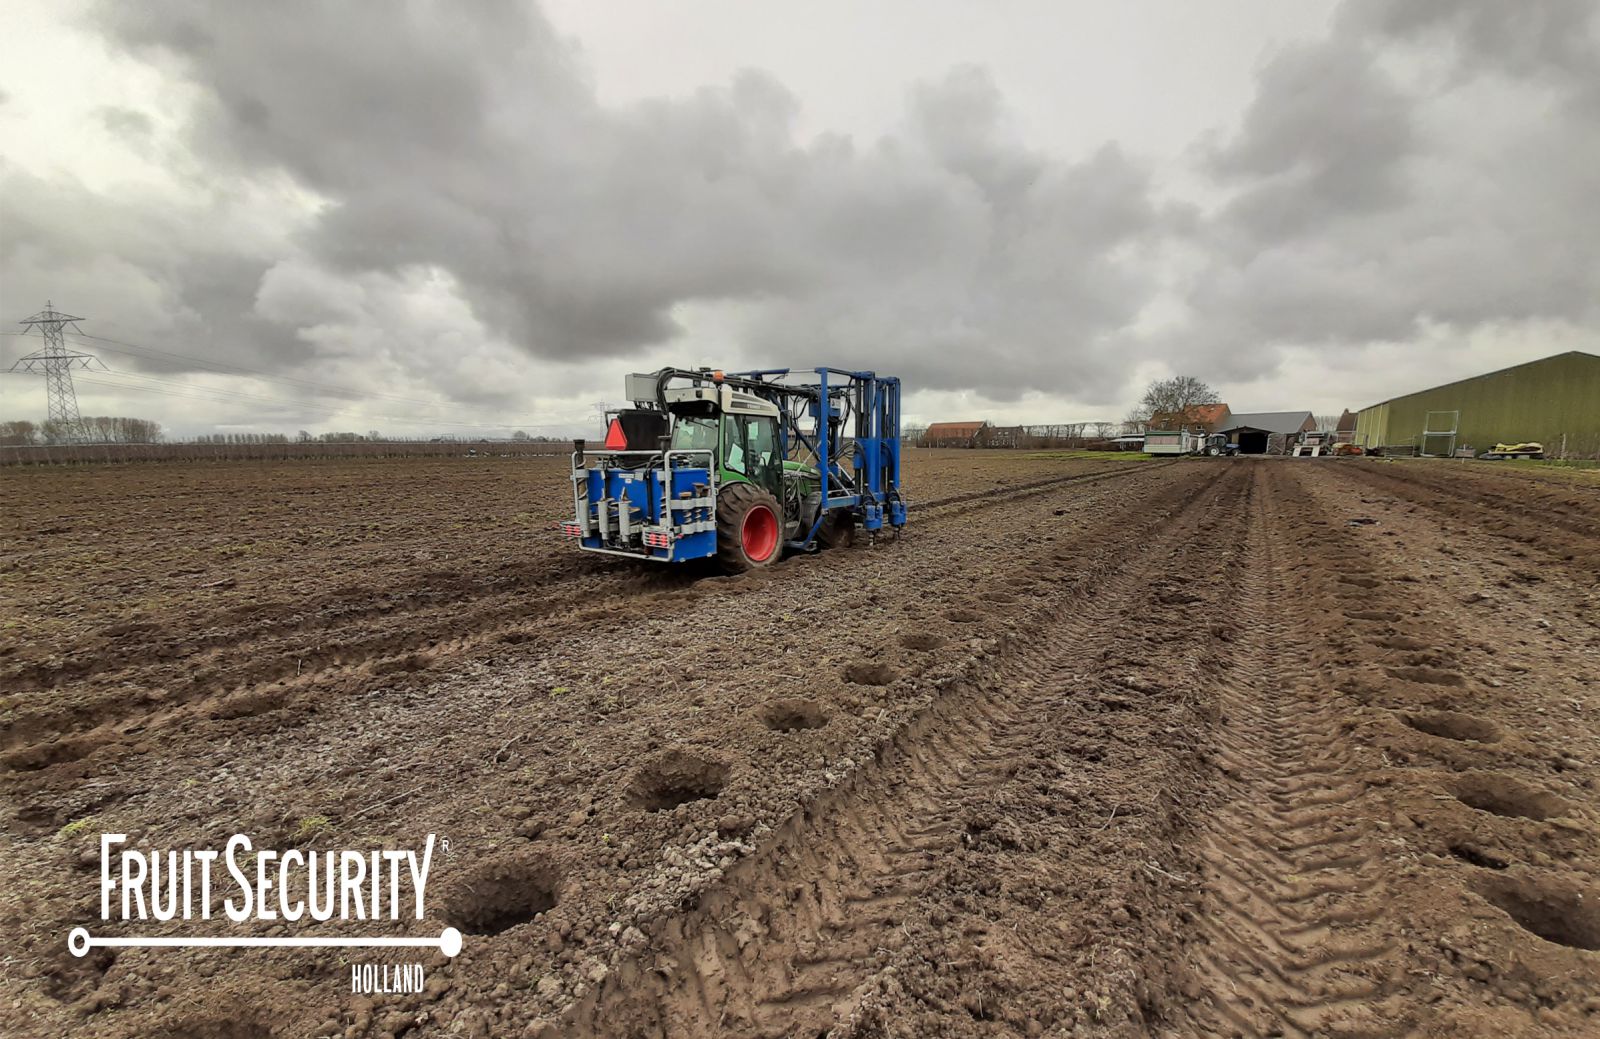
Planning the plot
The first step in optimizing the layout of a plot is accurately determining it. By conducting a GPS measurement, you can precisely measure the plot's boundaries, and additionally, already existing drainage or water wells can be directly measured.
This GPS measurement isn't very complicated and is sometimes even skipped. However, it is highly valuable to thoroughly inspect the plot from above, with all pertinent data mapped out.
There are various surveyors in fruit cultivation, such as FruitSecurity Holland or Van Oosterom Woerden.
Bonus Tip: Is the new orchard to be planted next to an existing one? If so, also measure the first few rows of the existing orchard. This way, you can maintain the direction or pole spacing similar to the existing plot.
.jpg)
Designing the orchard
When designing the orchard, you should think about putting the layout on paper. During this process, you determine the width of the headland, the distance from the first row of trees to the plot line.
Set a maximum length of tree rows for yourself. This will also allow you to take a possible in-between path into account. After all, an in-between path also gives some changes in required materials.
If you want a hail protection system or rain protection system in the future, bear in mind that in many cases you will need to place anchors on the sides of the system. As for the side anchors, you can often choose from 2 options.
- The anchors in the last row of trees. Note, with this choice, you will therefore find it more difficult to drive between in the lane between the last 2 rows of trees.
- Placing the anchors in the sides. So space is taken up at the sides. You can take this into account by keeping your side a bit wider already, or just assume that you won't be able to drive on the sides of the plot in the future.
Bonus: When your contractor drills planting holes please also communicate this when the plot design is made. The positions of the trees can then also be drawn in.
Planting the orchard
When planting the orchard, you need to make sure that the GPS drawing is completely as you wish and is crystal clear. You don't want any surprises while planting the trees or pressing the poles. So make sure you have invested enough time in designing the orchard, and sit down or talk to the designer to apply your wishes to the new plot to be planted.
Bonus: Make sure the person who measured the plot plots plots out the necessary points on the plot. This way, the GPS drawing can be entered correctly at the contractor's office!
Check out this video:
|
|
Jared Zoutewelle Export manager |